Why You'll Love It
- - Light, flaky pastry that stays buttery
- - Sweet strawberry‑cream cheese filling that isn’t overly sugary
- - Heart shape adds a festive touch without extra effort
- - Quick bake time fits into any busy schedule
"These danishes are my go‑to for family gatherings – they’re airy, sweet, and just the right amount of buttery. Everyone asks for the recipe!"
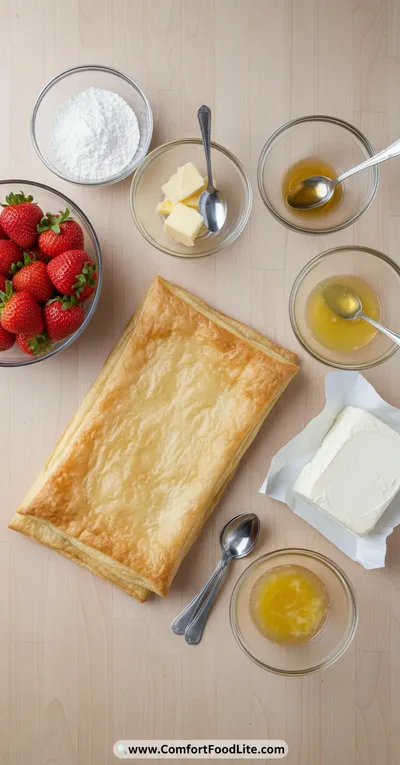
Essential Ingredient Guide
- All‑purpose flour: Provides structure; sift for a tender crumb
- Unsalted butter: Cold butter creates flaky layers; keep it chilled
- Fresh strawberries: Use ripe berries for natural sweetness and bright color
- Cream cheese: Softened, not melted, for a creamy filling
- Lemon juice: Adds a subtle acidity that balances the sweet
- Sugar: Adjust to taste; a little helps the berries caramelize
Complete Cooking Process
-
Ingredient Readiness:
Measure flour, chill butter, and puree strawberries; keep the cream cheese at room temperature.
-
Flavor Development:
Mix the strawberry‑cream cheese filling and let it rest for a few minutes, allowing the flavors to meld.
-
Texture Control:
Fold the butter into the dough just until specks appear, then roll and cut heart shapes.
-
Finishing Touches:
Brush the tops with an egg wash and sprinkle a pinch of sugar before baking.
-
Serving Timing:
Serve warm, straight from the oven, when the centers are still soft.
- Keep butter cold to ensure flakiness
- Don’t over‑mix the dough – a few flour streaks are okay
- Use a light dusting of sugar for a subtle sparkle
- Allow the danishes to cool on a wire rack for even air circulation
Pro Tips
Well, these little hearts really come together when you give each step a moment. I find that letting the dough rest for just ten minutes makes it easier to roll out. And, yeah, the scent that fills the kitchen as they bake is a gentle reminder that simple pleasures are worth savoring. So, take your time, enjoy the process, and let the strawberries do their sweet work.
The essence of the dish:
A fun fact or historical angle:
Flavor or sensory focus:
You Must Know
- Work quickly to keep butter cold
- Seal the edges well to trap the filling
- Bake until golden, not dark
Frequently Asked Questions
→ Can I freeze the unbaked danishes?
Yes, place them on a baking sheet, freeze solid, then transfer to a freezer bag. Bake from frozen, adding a couple of minutes.
→ What if I don’t have fresh strawberries?
Frozen strawberries work fine; thaw and pat dry before pureeing.
→ Can I use a food processor for the dough?
Absolutely, pulse briefly to combine butter and flour without over‑working.
→ How do I keep the filling from leaking?
Seal the edges well and chill the assembled pastries for 10 minutes before baking.
→ What’s a good gluten‑free alternative?
Swap the all‑purpose flour for a 1‑to‑1 gluten‑free blend that includes xanthan gum.
→ Can I add a glaze on top?
A light apricot glaze brushed after baking adds shine and extra sweetness.
Chef's Tips
If the dough feels too dry, add a splash more ice water.,Do not over‑bake; the centers should stay soft.,For extra shine, brush with a thin glaze of apricot jam after baking.
Nutrition Facts
per serving
310
Calories
5g
Protein
35g
Carbs
16g
Fat
Taste Profile
Brightly sweet with a creamy tang
Ingredient Substitutions
Don't have an ingredient? Try these alternatives
Will produce a denser texture; consider adding a bit more water.
Provides a richer mouthfeel, but may need less sugar.
Recipe Variations
Try these delicious twists on the original
Spicy Version
Add a pinch of cayenne and a drizzle of honey for subtle heat.
Mediterranean Style
Swap strawberries for a fig‑olive mixture and finish with a crumble of feta.
Common Mistakes to Avoid
Learn from others' mistakes for perfect results
- Over‑working the dough, which creates tough pastry.
- Using warm butter that melts before baking.
- Filling the hearts too heavily, causing leaks.
Meal Prep & Storage
Make Ahead Tips
You can prepare the dough and filling a day ahead; keep them refrigerated separately, then assemble and bake when ready.
Leftover Ideas
Reheat gently in a skillet over low heat, covering to keep the center moist.
Perfect Pairings
Serve this with...
Cooking Timeline
Combine dry ingredients and cut in butter.
Add ice water, form dough, and chill.
Prepare the strawberry‑cream cheese filling.
Roll dough, cut hearts, fill, seal, and glaze.
Bake, cool slightly, garnish, and serve.
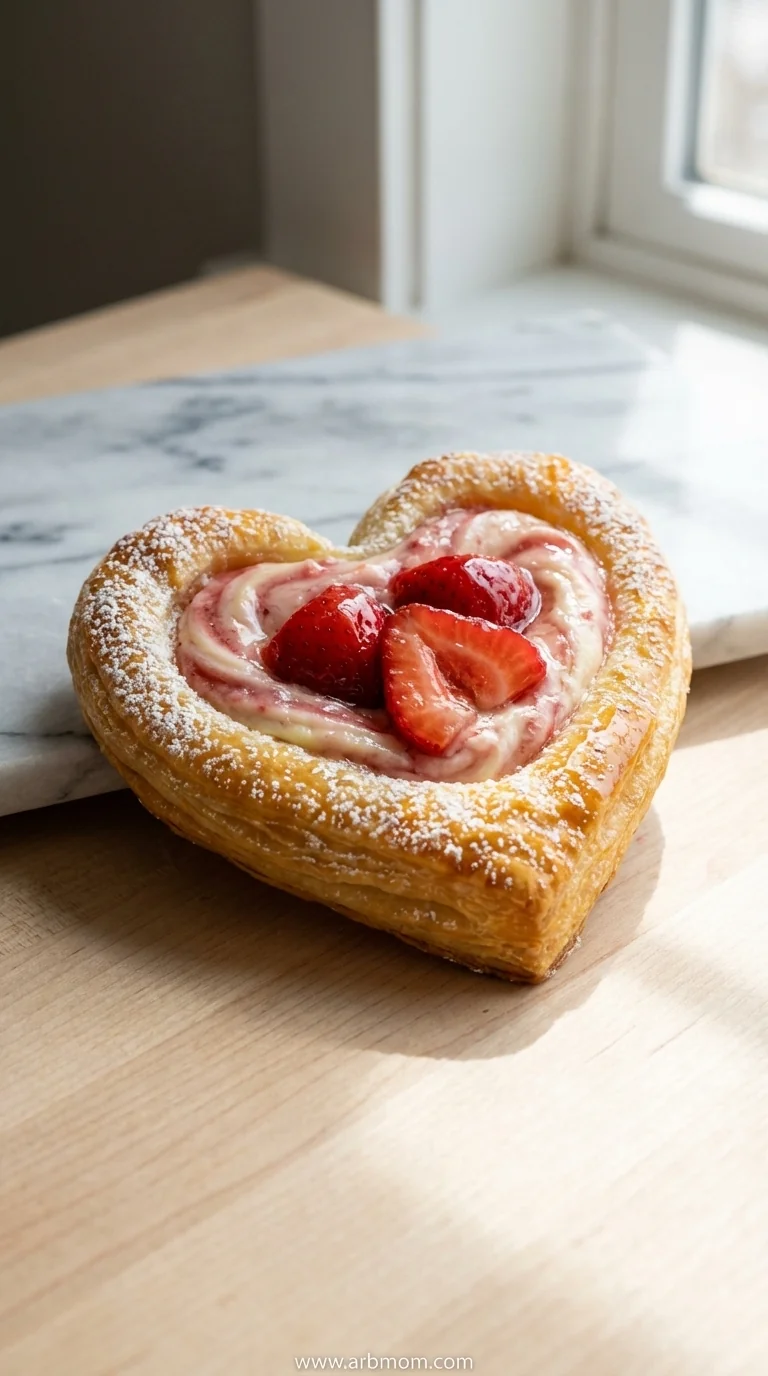
Strawberry Cream Cheese Heart Danishes
Fluffy, buttery strawberry cream cheese heart danishes that melt in your mouth. Perfect for brunch or a sweet celebration, these pastries bring a gentle pink glow and a hint of summer freshness.
Timing
Prep Time
20 Minutes
Cook Time
15 Minutes
Total Time
35 Minutes
Recipe Details
Ingredients
Pastry
- 01 2 ½ cups all‑purpose flour
- 02 1 tsp salt
- 03 1 tbsp sugar
- 04 1 cup cold unsalted butter, cubed
- 05 ½ cup ice‑cold water
Filling
- 01 8 oz cream cheese, softened
- 02 ¼ cup granulated sugar
- 03 1 tsp vanilla extract
- 04 1 cup fresh strawberries, pureed
- 05 1 tbsp lemon juice
Finish
- 01 1 egg, lightly beaten (for glaze)
- 02 1 tbsp coarse sugar (optional)
- 03 Fresh strawberry slices for garnish
Instructions
In a bowl, whisk flour, salt, and sugar. Add cold butter and cut in with a pastry cutter until pea‑sized pieces form.
Gradually add ice water, stirring until the dough just comes together. Form into a disk, wrap, and chill for 30 minutes.
While the dough rests, beat cream cheese with sugar and vanilla until smooth. Fold in strawberry puree and lemon juice; set aside.
Roll the chilled dough on a lightly floured surface to about ¼‑inch thickness. Use a heart cutter to cut shapes.
Place a spoonful of filling on each heart, fold over, and seal the edges with a fork. Brush tops with egg wash and sprinkle coarse sugar.
Bake on a parchment‑lined sheet at 375°F (190°C) for 12‑15 minutes, until golden. Let cool slightly before garnishing with fresh strawberry slices.
Notes & Tips
- 1 If the dough feels too dry, add a splash more ice water.
- 2 Do not over‑bake; the centers should stay soft.
- 3 For extra shine, brush with a thin glaze of apricot jam after baking.
Tools You'll Need
-
Mixing bowl
-
Pastry cutter
-
Rolling pin
-
Heart‑shaped cookie cutter
-
Baking sheet
-
Parchment paper
Must-Know Tips
- Keep butter cold, it creates layers.
- Chill assembled danishes before baking for better shape.
- Watch the edges; they brown faster than the center.
Professional Secrets
- Use ice water to prevent gluten development.
- Brush with egg wash for a glossy finish.
- Let the pastries rest on a wire rack to keep crust crisp.

Recipe by
EmilyEmily is a passionate food blogger and seasoned recipe creator at Arbmom Recipe, where she brings her culinary expertise and creativity to home cooks ...
Get Delicious Recipes Weekly
Join 25,000+ home cooks getting our best recipes straight to their inbox.
Free forever • No spam • Unsubscribe anytime