Why You'll Love It
- - A gorgeous color that brightens any table
- - Moist crumb thanks to the right balance of cocoa and buttermilk
- - Cream cheese frosting that adds a silky tang
- - Simple steps that feel like a gentle ritual
*"The cake was so soft, the frosting melted on my tongue – pure comfort!"*
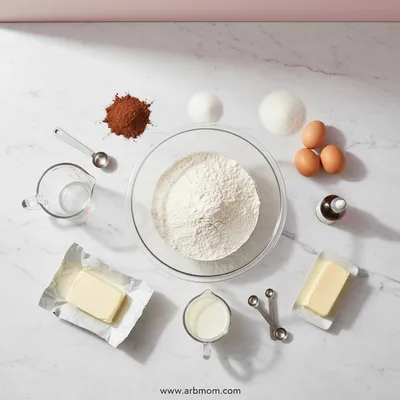
Essential Ingredient Guide
- All‑purpose flour: Provides structure; sift to avoid lumps for a tender crumb.
- Cocoa powder: A small amount deepens flavor without turning the cake brown.
- Beet powder (or red food coloring): Gives that signature ruby hue while keeping the taste delicate.
- Buttermilk: Adds acidity that reacts with baking soda for lift and tenderness.
- Vinegar: A splash helps the cake rise and intensifies the red color.
- Cream cheese: Creates the classic frosting’s tangy richness.
Complete Cooking Process
-
Ingredient Readiness:
Measure flour, sift cocoa, and bring butter, eggs, and buttermilk to room temperature so they blend smoothly.
-
Flavor Development:
Whisk together dry ingredients, then fold in the wet mixture; the gentle creaming releases the subtle cocoa aroma.
-
Texture Control:
Do not over‑mix once flour is added; stop when batter is just combined to keep the crumb light.
-
Finishing Touches:
frost the cake while it’s completely cooled; the cream cheese spread will be silky and hold its shape.
-
Serving Timing:
Allow the frosted cake to rest a few minutes so flavors meld, then slice with a warm knife for clean cuts.
- Use a kitchen scale for precise flour weight
- Add a teaspoon of espresso powder to enhance cocoa depth
- Store layers wrapped in plastic for up to 2 days before frosting
- Warm your knife in hot water for smooth frosting swirls
Pro Tips
Taking a moment to let the cake cool completely prevents the frosting from sliding off. I’ve found that letting the layers sit, covered, for an hour lets the moisture settle, giving you cleaner slices. And when you’re ready to serve, a brief pause to admire the deep red layer is just as important as the bite itself.
The essence of the dish:
A fun fact or historical angle:
Flavor or sensory focus:
You Must Know
- Room‑temperature ingredients are key
- Do not over‑mix the batter
- Cool layers completely before frosting
Frequently Asked Questions
→ Can I use fresh beet juice instead of food coloring?
Yes, fresh beet juice works nicely and adds a natural sweetness; just use about 2 tablespoons.
→ How do I keep the cake moist for a few days?
Wrap each cooled layer tightly in plastic wrap, then store in an airtight container; it stays soft for up to 3 days.
→ What’s the best way to frost without crumbs?
Apply a thin crumb coat first, chill for 15 minutes, then add the final frosting layer.
→ Can I make this cake gluten‑free?
Swap all‑purpose flour for a 1:1 gluten‑free flour blend; the texture remains tender.
→ Do I need to boil the buttermilk?
No, just let it sit at room temperature; the acidity is what matters.
→ Is it okay to freeze the cake?
Yes, freeze unfrosted layers wrapped well; thaw overnight in the fridge before frosting.
Chef's Tips
If using food coloring, start with 2 tbsp and add more for deeper shade.,For extra moistness, brush layers with a simple simple‑syrup made of sugar and water.,A pinch of espresso powder in the batter intensifies chocolate flavor without tasting like coffee.
Nutrition Facts
per serving
420
Calories
5g
Protein
55g
Carbs
22g
Fat
Taste Profile
Rich, slightly tangy, chocolate‑kissed sweetness
Ingredient Substitutions
Don't have an ingredient? Try these alternatives
Provides the same acidity and moisture.
Use ½ cup melted dark chocolate for a richer flavor.
Recipe Variations
Try these delicious twists on the original
Spicy Version
Add ½ tsp ground cinnamon and a pinch of cayenne for a warm kick.
Mediterranean Style
Incorporate a swirl of orange zest and crushed pistachios into the frosting.
Common Mistakes to Avoid
Learn from others' mistakes for perfect results
- Over‑mixing the batter, which makes the cake dense.
- Frosting before the cake is completely cool, causing a runny surface.
- Using too much food coloring, which can affect flavor.
Meal Prep & Storage
Make Ahead Tips
You can bake the layers up to 2 days ahead, wrap tightly, and frost when ready to serve.
Leftover Ideas
Store slices in a sealed container; enjoy within 3 days or freeze for up to a month.
Perfect Pairings
Serve this with...
Cooking Timeline
Preheat oven and prepare pans.
Mix dry ingredients and beat wet ingredients.
Combine wet and dry, fill pans, and bake.
Cool cakes on wire rack.
Prepare frosting and frost the cooled cakes.
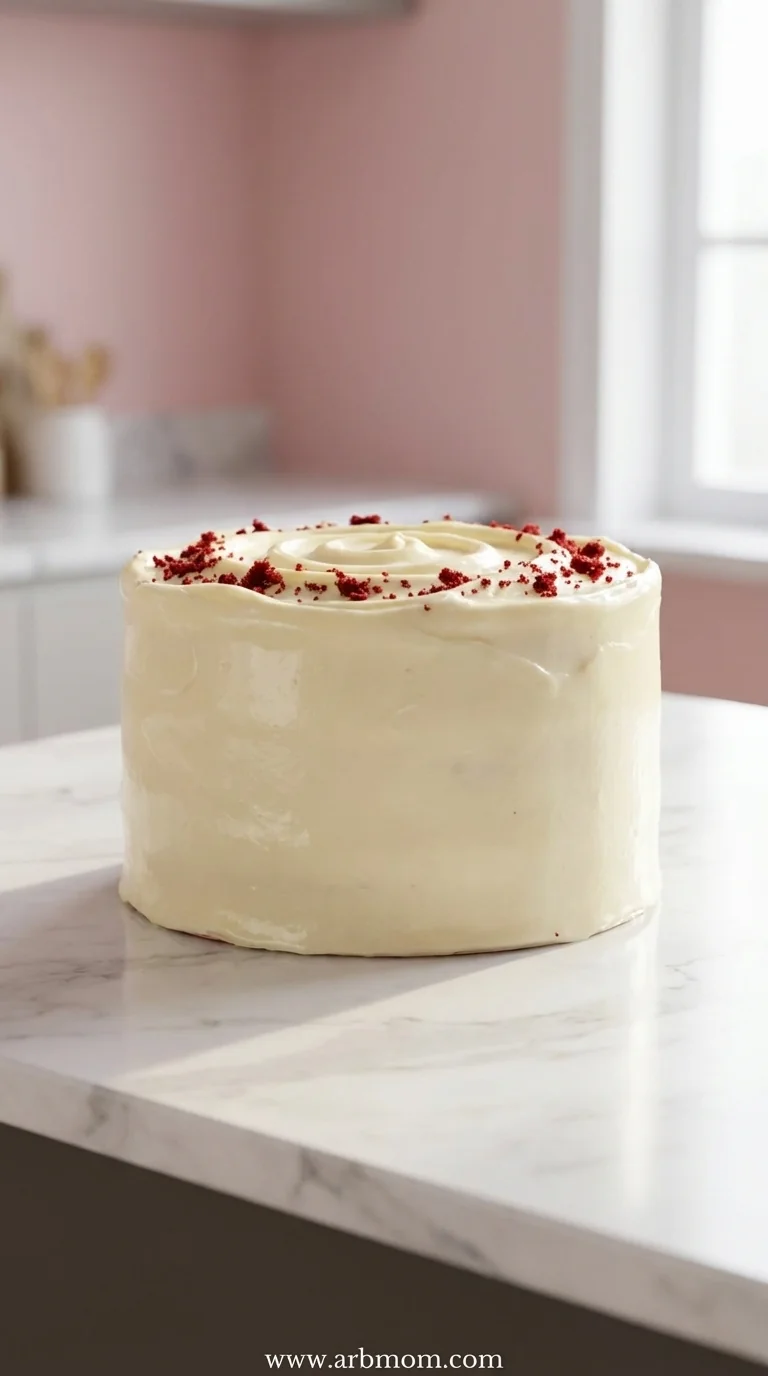
Red Velvet Cake
A moist and fluffy Red Velvet Cake topped with creamy frosting, perfect for any celebration. Its tender crumb and subtle cocoa notes make it a timeless favorite.
Timing
Prep Time
20 Minutes
Cook Time
30 Minutes
Total Time
50 Minutes
Recipe Details
Ingredients
Cake
- 01 2 ½ cups all‑purpose flour
- 02 1 ½ tsp baking soda
- 03 1 tsp salt
- 04 1 cup unsweetened cocoa powder
- 05 1 ½ cups granulated sugar
- 06 1 cup vegetable oil
- 07 2 large eggs, room temperature
- 08 1 cup buttermilk
- 09 2 tbsp red beet powder (or food coloring)
- 10 1 tsp vanilla extract
- 11 1 tsp white vinegar
Frosting
- 01 8 oz cream cheese, softened
- 02 ½ cup unsalted butter, softened
- 03 3‑4 cups powdered sugar, sifted
- 04 1 tsp vanilla extract
- 05 2 tbsp heavy cream (optional, for silkiness)
Instructions
Preheat the oven to 350°F (175°C). Grease two 9‑inch round cake pans and line the bottoms with parchment.
In a bowl whisk together flour, cocoa, baking soda, and salt; set aside.
In a large mixing bowl, beat sugar and oil until smooth, then add eggs one at a time, mixing gently.
Stir in vanilla, beet powder, and vinegar. Alternately add the dry ingredients and buttermilk, beginning and ending with dry, just until combined.
Divide batter evenly, tap pans to release bubbles, and bake 25‑30 minutes until a toothpick comes out clean.
Let cakes cool in pans 10 minutes, then turn onto a wire rack to cool completely.
While cakes cool, beat cream cheese and butter until fluffy; add powdered sugar gradually, then vanilla and optional cream, beating until smooth.
Place one cake layer on a serving plate, spread a generous layer of frosting, top with second layer, and finish frosting the top and sides.
Notes & Tips
- 1 If using food coloring, start with 2 tbsp and add more for deeper shade.
- 2 For extra moistness, brush layers with a simple simple‑syrup made of sugar and water.
- 3 A pinch of espresso powder in the batter intensifies chocolate flavor without tasting like coffee.
Tools You'll Need
-
Two 9‑inch round cake pans
-
Mixing bowls
-
Electric mixer
-
Spatula
-
Wire rack
-
Parchment paper
Must-Know Tips
- Do not over‑mix after adding flour, it keeps the crumb tender.
- Cool cakes completely before frosting to avoid melting the buttercream.
- Room‑temperature butter and cream cheese blend more smoothly.
Professional Secrets
- Sift cocoa and flour together for an even texture.
- Add a teaspoon of espresso powder to deepen chocolate notes.
- Use a warm knife for a flawless frosting swirl.

Recipe by
EmilyEmily is a passionate food blogger and seasoned recipe creator at Arbmom Recipe, where she brings her culinary expertise and creativity to home cooks ...
Get Delicious Recipes Weekly
Join 25,000+ home cooks getting our best recipes straight to their inbox.
Free forever • No spam • Unsubscribe anytime