Why You'll Love It
- - Minimal ingredients, maximum flavor
- - No heat required, just chill
- - Versatile for sandwiches, salads, or snacks
- - Freshness that lasts days
*"These pickles are the perfect balance of zing and crunch—my kids love them!"*
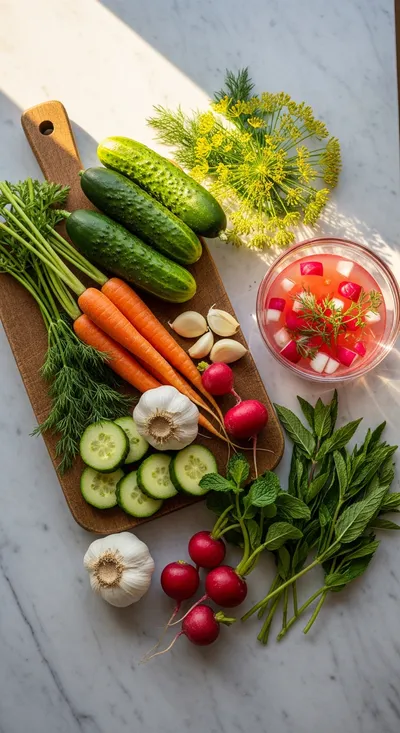
Essential Ingredient Guide
- Cucumbers: Choose firm, small‑to‑medium cucumbers; they stay crisp when sliced thin.
- Carrots: Peel and cut into match‑sticks for a sweet contrast to the brine.
- Red onion: Adds a mild sharpness; slice thinly to soften during soaking.
- Dill & mustard seeds: Classic aromatics that give the brine its signature bite.
- Apple cider vinegar: Provides gentle acidity without overpowering the veggies.
- Honey: A touch of sweetness balances the sour notes.
Complete Cooking Process
-
Ingredient Readiness:
Wash, dry, and slice all vegetables uniformly; this ensures even flavor absorption.
-
Flavor Development:
Combine vinegar, water, salt, honey, and spices; let the mixture cool before pouring over veggies.
-
Texture Control:
Press the veggies down in the jar so they stay submerged; this keeps them crisp.
-
Finishing Touches:
Seal the jar and refrigerate for at least 30 minutes; the longer they sit, the deeper the flavor.
-
Serving Timing:
Enjoy the pickles any time after the initial set; they stay vibrant for up to two weeks.
- Use a non‑metallic spoon to press veggies; metal can react with the brine.
- Add a few garlic cloves for extra aroma, but remove before serving if you prefer milder flavor.
- Store jars upright to keep the brine evenly distributed.
- Swap honey for agave if you need a vegan sweetener.
Pro Tips
I find that taking a moment to smell the aromatic dill as it settles in the jar brings a quiet sense of anticipation. It’s a reminder that good food often starts with simple, patient steps, not frantic hustle. So, let the pickles rest, and when you finally bite into that crisp snap, you’ll taste the calm that went into making them.
The essence of the dish:
A fun fact or historical angle:
Flavor or sensory focus:
You Must Know
- Keep veggies fully covered in brine
- Use a clean, airtight jar
- Adjust sweetness to taste
Frequently Asked Questions
→ How long do the pickles need to sit?
At least 30 minutes for a mild flavor; up to 24 hours for a stronger tang.
→ Can I use other vegetables?
Definitely—radishes, green beans, or even bell pepper strips work well.
→ Do I need to sterilize the jar?
A quick rinse with hot water is enough since the recipe stays refrigerated.
→ What if the pickles become too sour?
Add a pinch more honey or a few extra carrot sticks to balance the acidity.
→ Can I add herbs besides dill?
Yes, try thyme, tarragon, or a bay leaf for different flavor nuances.
→ Is this recipe vegan?
Absolutely—just replace honey with agave or maple syrup.
Chef's Tips
Make sure the brine is completely cool before sealing, otherwise you may get a cloudy jar.,If the veggies float, place a small clean weight on top to keep them submerged.,Feel free to adjust the honey amount for a sweeter or more tart pickle.
Nutrition Facts
per serving
30
Calories
1g
Protein
7g
Carbs
0g
Fat
Taste Profile
Bright tangy with a subtle sweet finish
Ingredient Substitutions
Don't have an ingredient? Try these alternatives
Provides similar acidity with a milder flavor.
Keeps it vegan and adds a caramel note.
Recipe Variations
Try these delicious twists on the original
Spicy Version
Add ½ tsp red pepper flakes and a dash of sriracha to the brine for a gentle heat.
Mediterranean Style
Mix in sliced olives, a squeeze of lemon, and a pinch of oregano for a sun‑kissed twist.
Common Mistakes to Avoid
Learn from others' mistakes for perfect results
- Leaving vegetables exposed to air, causing mushy texture.
- Using hot brine, which can wilt delicate veggies.
- Not sealing the jar tightly, leading to flavor loss.
Meal Prep & Storage
Make Ahead Tips
The brine can be prepared a day ahead; store it in the refrigerator and use when ready to pickle.
Leftover Ideas
Enjoy the leftovers straight from the jar; they stay crisp for up to ten days if kept cold.
Perfect Pairings
Serve this with...
Cooking Timeline
Prep vegetables – wash, slice, and arrange.
Combine brine ingredients, heat gently, then cool.
Pack veggies into jar and pour cooled brine.
Refrigerate; check flavor after 30 minutes, then let develop.
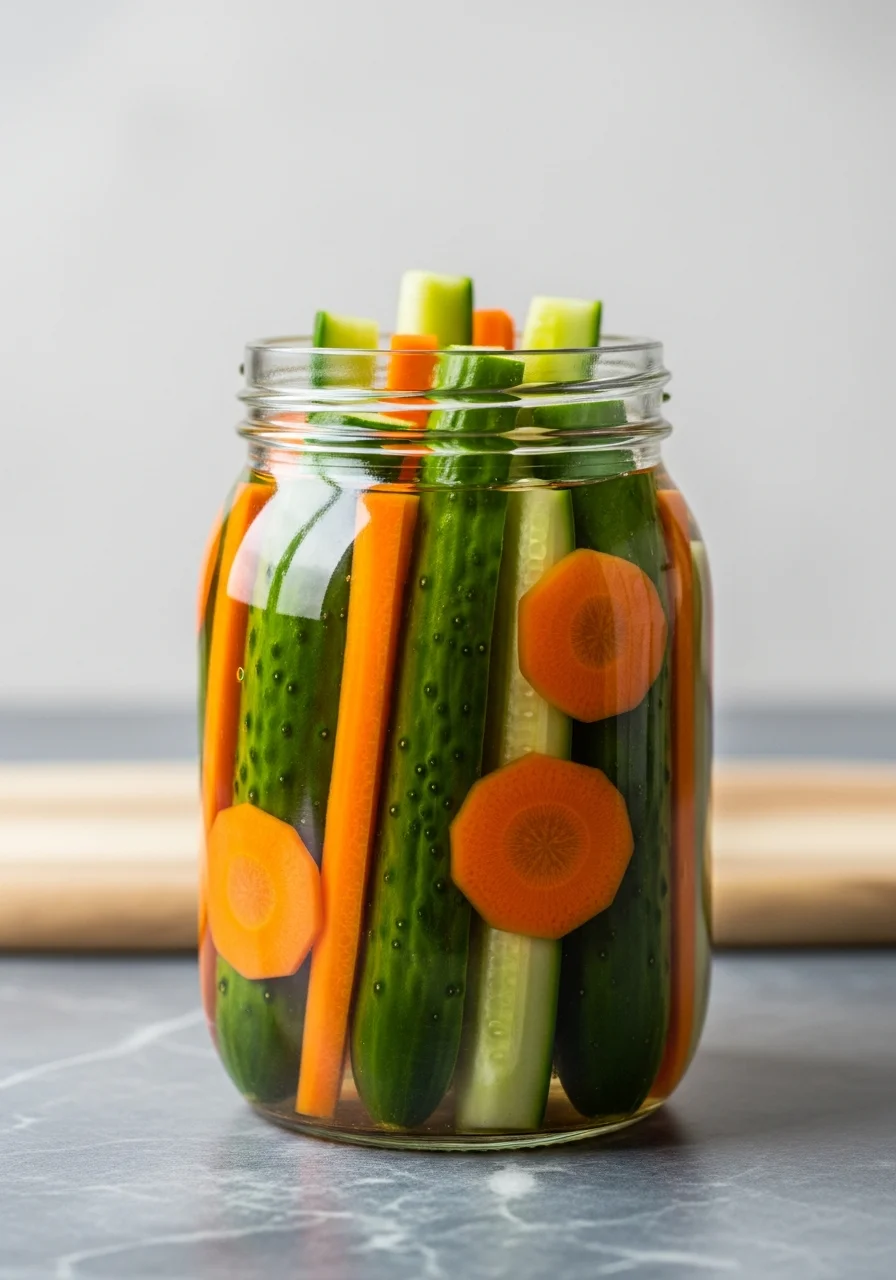
Quick and Easy Refrigerator Pickles
A bright, tangy crunch that brightens any snack time. Honestly, this quick pickling method needs just a few veggies, a simple brine, and a little patience in the fridge. You’ll hear that soft pop of the jar and feel the crisp snap when you bite—so satisfying.
Timing
Prep Time
15 Minutes
Cook Time
0 Minutes
Total Time
45 Minutes
Recipe Details
Ingredients
Pickling Brine
- 01 1 cup apple cider vinegar
- 02 1 cup water
- 03 2 tbsp sea salt
- 04 1 tbsp honey (or agave)
- 05 1 tsp mustard seeds
- 06 1 tsp dill seeds
- 07 2 cloves garlic, smashed
Vegetables
- 01 2 small cucumbers, thinly sliced
- 02 2 carrots, cut into match‑sticks
- 03 1/2 red onion, thinly sliced
- 04 4 sprigs fresh dill
Instructions
Wash and dry all vegetables; slice cucumbers, carrots, and onion uniformly.
In a small saucepan combine vinegar, water, salt, honey, mustard seeds, dill seeds, and garlic; heat just until the salt dissolves, then let cool.
Pack the sliced vegetables tightly into a clean jar, add fresh dill sprigs, and pour the cooled brine over them, ensuring everything is submerged.
Seal the jar, refrigerate for at least 30 minutes. For deeper flavor, wait 4‑6 hours or overnight.
Enjoy straight from the fridge as a snack, or add to sandwiches, salads, or a cucumber dill side.
Notes & Tips
- 1 Make sure the brine is completely cool before sealing, otherwise you may get a cloudy jar.
- 2 If the veggies float, place a small clean weight on top to keep them submerged.
- 3 Feel free to adjust the honey amount for a sweeter or more tart pickle.
Tools You'll Need
-
Large glass jar with lid
-
Sharp knife
-
Cutting board
-
Measuring cups
-
Small saucepan
-
Wooden spoon
Must-Know Tips
- Don't over‑fill the jar; leave headspace for the brine to circulate.
- Use non‑iodized salt for a clearer brine.
- Taste the brine before adding; adjust sweetness or salt as needed.
Professional Secrets
- Cool the brine quickly in an ice bath for best texture.
- Press vegetables firmly to remove air pockets.
- Add a pinch of sugar to balance the acidity.

Recipe by
OliviaOlivia is a passionate food blogger and recipe creator at Arbmom Recipe, where she brings her culinary expertise and love for home cooking to a vibran ...
Get Delicious Recipes Weekly
Join 25,000+ home cooks getting our best recipes straight to their inbox.
Free forever • No spam • Unsubscribe anytime