Why You'll Love It
- - Light texture that melts in your mouth
- - Vibrant strawberry flavor without artificial coloring
- - Simple steps that feel like a gentle ritual
- - Elegant look perfect for celebrations
"The strawberry jelly cake was the highlight of our brunch – beautiful, light, and utterly delicious!"
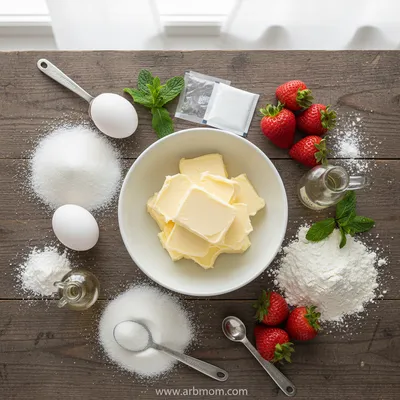
Essential Ingredient Guide
- Fresh strawberries: Choose ripe, fragrant berries; wash gently and pat dry to keep the skins intact.
- Unflavored gelatin: Ensures a smooth, wobbly set; bloom in cold water before heating.
- Sponge cake base: A light vanilla sponge provides the perfect canvas for the jelly.
- Lemon zest: Adds a subtle brightness that lifts the sweet strawberry notes.
- Honey: A touch of natural sweetener balances the tartness of the berries.
- Whipped cream: Optional topping for an extra airy finish.
Complete Cooking Process
-
Ingredient Readiness:
Wash and hull the strawberries, bloom the gelatin, and bake the sponge a day ahead for a dry surface.
-
Flavor Development:
Cook the strawberry puree gently, allowing the natural sugars to caramelize slightly, then stir in the gelatin.
-
Texture Control:
Let the jelly cool to room temperature before pouring over the sponge to avoid soggy crumbs.
-
Finishing Touches:
Spread a thin veil of whipped cream, then garnish with whole berries for visual contrast.
-
Serving Timing:
Chill the assembled cake for at least two hours; serve cold for the cleanest slice.
- Use a springform pan for easy removal
- Pat the sponge with a light brush of simple syrup for extra moisture
- Bloom gelatin in cold water for exactly 5 minutes
- Slice with a warm knife for clean edges
Pro Tips
Well, these tiny adjustments make a world of difference. I remember one time I rushed the gelatin step and the jelly turned grainy – oops! Take a breath, follow each pause, and the cake will thank you with its silky shine.
The essence of the dish:
A fun fact or historical angle:
Flavor or sensory focus:
You Must Know
- Gelatin must be fully dissolved
- Strawberries should be pureed smooth
- Cake must be completely cooled
Frequently Asked Questions
→ Can I use agar‑agar instead of gelatin?
Agar‑agar works, but it creates a firmer set and can taste slightly grassy. Adjust the amount and heat longer to dissolve fully.
→ How long can I keep the cake refrigerated?
It stays fresh for up to three days, though the jelly may soften a bit after 48 hours.
→ Do I need to bake the sponge from scratch?
You can use a store‑bought vanilla sponge, but homemade gives a lighter texture that pairs better with the jelly.
→ What if I want a dairy‑free version?
Skip the whipped cream or replace it with coconut whipped topping; the rest of the recipe is naturally dairy‑free.
→ Can I add other fruit flavors?
Absolutely – try mango or raspberry puree, just keep the gelatin ratio the same.
→ Is the cake gluten‑free?
Swap the wheat flour in the sponge for a gluten‑free blend; the jelly itself is already gluten‑free.
Chef's Tips
Make sure the sponge is completely cool before adding the jelly, or the jelly may melt.,If the jelly sets too firmly, gently warm it for a few seconds before pouring.,For a glossy finish, brush the top of the jelly with a thin glaze of warmed apricot jam.
Nutrition Facts
per serving
260
Calories
5g
Protein
38g
Carbs
9g
Fat
Taste Profile
Bright, sweet‑tart strawberry with a buttery background
Ingredient Substitutions
Don't have an ingredient? Try these alternatives
Use 1½ tsp agar‑agar; simmer longer to fully dissolve.
Ensures dairy‑free version with a light coconut aroma.
Recipe Variations
Try these delicious twists on the original
Spicy Version
Add a pinch of cayenne pepper to the strawberry puree for a subtle heat.
Mediterranean Style
Stir in a spoonful of ricotta and a sprinkle of toasted pistachios for a nutty twist.
Common Mistakes to Avoid
Learn from others' mistakes for perfect results
- Overcrowding the pan, causing uneven baking.
- Adding gelatin to hot puree, which can create grainy texture.
- Pouring jelly before the sponge is fully cooled, leading to soggy base.
Meal Prep & Storage
Make Ahead Tips
You can bake the sponge a day ahead and store it wrapped; the jelly can be prepared up to 12 hours in advance and kept refrigerated.
Leftover Ideas
Reheat gently in a skillet with a splash of milk to soften the jelly if needed, or serve cold as is.
Perfect Pairings
Serve this with...
Cooking Timeline
Preheat oven, prepare pan, and start mixing sponge batter.
Bake sponge, let cool while preparing strawberry puree.
Cook strawberries, bloom gelatin, blend and strain jelly.
Cool jelly, pour over sponge, and refrigerate to set.
Whip cream, garnish, and slice for serving.
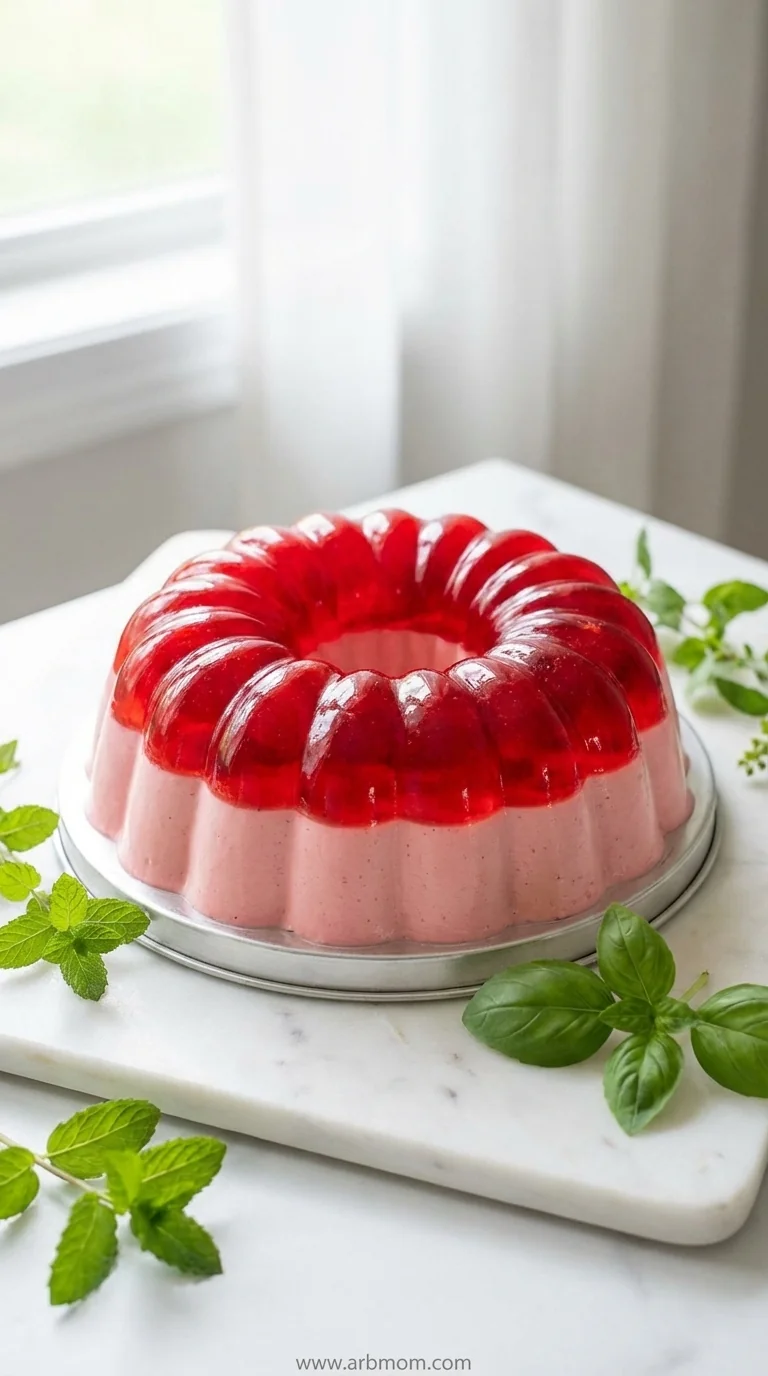
Elegant Strawberry Jelly Cake
Discover how to make an elegant strawberry jelly cake that's light, refreshing, and perfect for any occasion. The layers of soft sponge and bright strawberry gel capture a gentle summer breeze, while the glossy finish invites a quiet smile.
Timing
Prep Time
30 Minutes
Cook Time
20 Minutes
Total Time
50 Minutes
Recipe Details
Ingredients
Sponge Base
- 01 1 cup all‑purpose flour
- 02 ½ cup granulated sugar
- 03 2 large eggs
- 04 ¼ cup melted butter
- 05 1 tsp vanilla extract
- 06 ¼ tsp salt
Strawberry Jelly
- 01 2 cups fresh strawberries, hulled
- 02 ¼ cup honey
- 03 1 tbsp lemon zest
- 04 1 tbsp unflavored gelatin
- 05 ¼ cup cold water
Finishing
- 01 ½ cup heavy whipping cream (optional)
- 02 Fresh strawberry halves for garnish
Instructions
Preheat the oven to 350°F (175°C). Grease a 9‑inch springform pan and line the bottom with parchment.
In a bowl, whisk flour, sugar, and salt. In another, beat eggs, melted butter, and vanilla. Combine wet and dry, pour into pan, and bake 15‑18 minutes until golden. Let cool completely on a wire rack.
While the cake cools, place strawberries, honey, and lemon zest in a saucepan. Cook over low heat, stirring, until the berries break down and the mixture thickens, about 8 minutes.
Blend the strawberry mixture until smooth, then strain to remove seeds. Bloom gelatin in cold water for 5 minutes, then stir into the warm puree until fully dissolved.
Allow the jelly to cool to about 70°F (21°C). Pour gently over the cooled sponge, spreading evenly. Refrigerate for at least 2 hours until set.
Whip the heavy cream until soft peaks form, if using. Top the chilled cake with a light cloud of whipped cream and arrange fresh strawberry halves on top.
Notes & Tips
- 1 Make sure the sponge is completely cool before adding the jelly, or the jelly may melt.
- 2 If the jelly sets too firmly, gently warm it for a few seconds before pouring.
- 3 For a glossy finish, brush the top of the jelly with a thin glaze of warmed apricot jam.
Tools You'll Need
-
Springform pan
-
Mixing bowls
-
Hand whisk
-
Blender or food processor
-
Saucepan
-
Fine mesh strainer
Must-Know Tips
- Don't overcrowd the pan, Cook in batches ...
- Let meat rest, Allows juices ...
- Taste as you go, Adjust seasoning ...
Professional Secrets
- Room temperature ingredients, Ensures even cooking
- High heat for searing, Creates the perfect crust
- Deglaze the pan, Captures all the flavor

Recipe by
EmilyEmily is a passionate food blogger and seasoned recipe creator at Arbmom Recipe, where she brings her culinary expertise and creativity to home cooks ...
Get Delicious Recipes Weekly
Join 25,000+ home cooks getting our best recipes straight to their inbox.
Free forever • No spam • Unsubscribe anytime