Why You'll Love It
- - Incredibly fast—ready in under 20 minutes
- - No fancy equipment, just a pot and oil
- - Perfect balance of crispy batter and creamy center
- - Great for parties, gatherings, or a quiet night in
*"These fried Oreos are the ultimate sweet surprise—crunchy, gooey, and simply unforgettable!"*
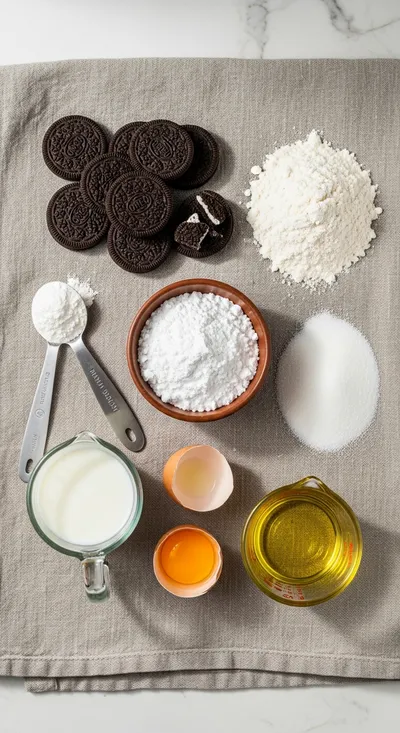
Essential Ingredient Guide
- Oreos: Choose classic chocolate‑cream Oreos; they melt beautifully and give that iconic flavor.
- Batter (flour, milk, egg): A simple pancake‑style batter creates a light, airy crust. Use cold milk for extra crispiness.
- Neutral oil (vegetable or canola): A high‑smoke‑point oil ensures a clean, golden fry without any lingering oil taste.
- Powdered sugar: Dust the finished cookies for a sweet finish; add a pinch of cinnamon for warmth.
- Vanilla extract: A dash brightens the batter without overpowering the Oreo’s chocolate.
- Sea salt: A tiny pinch on the finished treat heightens the sweet‑savory contrast.
Complete Cooking Process
-
Ingredient Readiness:
Gather Oreos, whisk batter ingredients, and pre‑heat oil to a steady 350°F; let everything sit at room temperature for even frying.
-
Flavor Development:
As the batter sizzles, the outer layer caramelizes, creating that satisfying crunch while the interior stays molten.
-
Texture Control:
Fry in small batches; this prevents temperature drops and ensures each cookie stays crisp.
-
Finishing Touches:
Immediately lift, drain, and dust with powdered sugar and a pinch of sea salt while still warm.
-
Serving Timing:
Serve within minutes for maximum crunch; the batter softens if left too long.
- Keep oil temperature steady—use a thermometer.
- Dry Oreos with a paper towel to reduce splatter.
- Shake gently after frying to coat evenly with sugar.
- Serve with a side of vanilla ice cream for extra indulgence.
Pro Tips
I remember a time when I over‑crowded the pan and the oil cooled, leaving soggy bites—so yeah, patience is key. Take a moment between batches to let the oil rebound; it makes all the difference. Also, a quick sprinkle of sea salt just before serving lifts the sweetness in a subtle, elegant way.
The essence of the dish:
A fun fact or historical angle:
Flavor or sensory focus:
You Must Know
- Oil must stay at 350°F
- Don’t overcrowd the pot
- Dust immediately for best coating
Frequently Asked Questions
→ Can I use gluten‑free flour?
Absolutely—substitute a 1:1 gluten‑free blend; the texture stays delightfully light.
→ What oil is best for frying?
Vegetable, canola, or peanut oil work well; they have high smoke points and a neutral flavor.
→ Do I need a deep fryer?
No, a sturdy, heavy‑bottom pot works fine as long as you monitor the temperature.
→ How long can leftovers be stored?
Refrigerate in an airtight container for up to two days; re‑crisp in a hot oven before serving.
→ Can I add toppings?
Sure—drizzle chocolate ganache, sprinkle cinnamon sugar, or serve with a scoop of ice cream.
→ Is this recipe kid‑friendly?
Yes, just supervise the frying step; the finished treats are a hit with children.
Chef's Tips
If the batter seems too thick, add a splash more milk; it should coat but not clump.,Drying the Oreos helps prevent soggy batter.,For extra flavor, stir a pinch of cinnamon into the batter before frying.
Nutrition Facts
per serving
210
Calories
4g
Protein
22g
Carbs
12g
Fat
Taste Profile
Rich, buttery sweetness with a crisp finish
Ingredient Substitutions
Don't have an ingredient? Try these alternatives
Use a 1:1 swap; texture remains light.
Adds a subtle coconut note; keep temperature steady.
Recipe Variations
Try these delicious twists on the original
Spicy Version
Add a pinch of cayenne pepper to the batter and dust with a blend of powdered sugar and smoked paprika.
Mediterranean Style
Mix a little ground cardamom into the batter and serve with a drizzle of honey and crushed pistachios.
Common Mistakes to Avoid
Learn from others' mistakes for perfect results
- Overcrowding the pot, which drops oil temperature and makes soggy cookies.
- Using batter that’s too thick; it creates a heavy coating.
- Skipping the sugar dusting right after frying, leading to uneven sweet coverage.
Meal Prep & Storage
Make Ahead Tips
You can prepare the batter up to 2 hours ahead; keep it chilled and give it a gentle stir before frying.
Leftover Ideas
Reheat gently in a 350°F oven for about 5 minutes; the crust will revive nicely.
Perfect Pairings
Serve this with...
Cooking Timeline
Gather ingredients, whisk batter, and heat oil.
Fry Oreos in batches until golden.
Drain and dust with powdered sugar.
Serve immediately or keep warm on a rack.
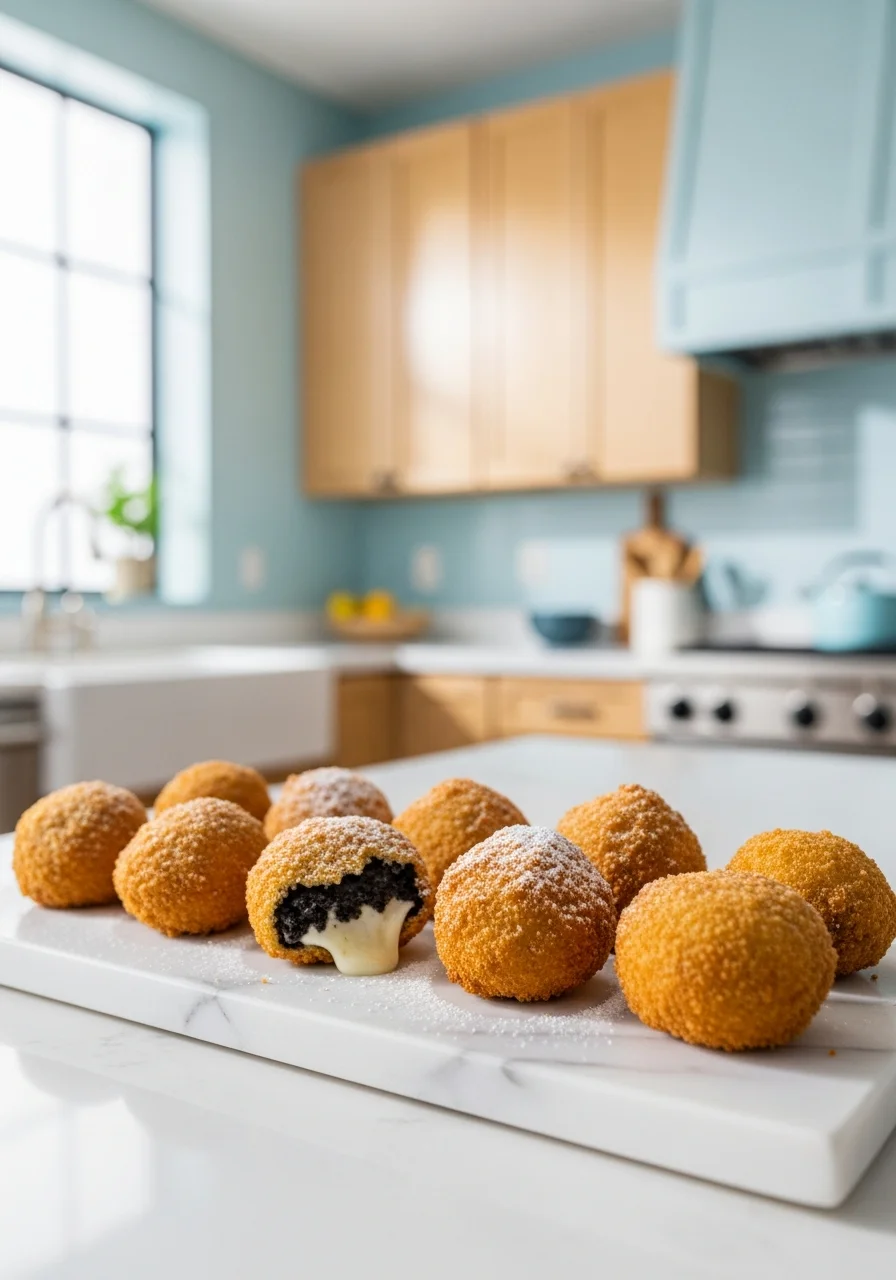
Deep Fried Oreos Recipe – Crispy Sweet Treat
Indulge with our quick Deep Fried Oreos recipe—crispy coating and warm gooey center, perfect for a fun dessert or snack. Honestly, it feels like a carnival treat made in your kitchen, with a hint of nostalgia and the satisfying crack of a golden shell.
Timing
Prep Time
10 Minutes
Cook Time
8 Minutes
Total Time
18 Minutes
Recipe Details
Ingredients
Main Ingredients
- 01 20 Oreo cookies (classic chocolate‑cream)
- 02 1 cup all‑purpose flour
- 03 1 cup cold milk
- 04 1 large egg
- 05 2 tbsp melted butter
- 06 1 tsp vanilla extract
- 07 Oil for deep‑frying (vegetable or canola)
- 08 Powdered sugar, for dusting
- 09 Pinch of sea salt (optional)
Instructions
In a bowl, whisk together flour, cold milk, egg, melted butter, and vanilla until smooth. Let the batter rest while you preheat oil.
Heat oil in a deep pot to 350°F (180°C). Use a thermometer to keep the temperature steady.
Pat each Oreo dry, dip it into the batter, letting excess drip off, then carefully lower into the hot oil.
Fry for 30‑45 seconds, turning once, until golden brown. Remove with a slotted spoon, drain on paper towels, and immediately dust with powdered sugar and a pinch of sea salt.
Serve warm, perhaps alongside a dollop of vanilla ice cream or a drizzle of chocolate sauce.
Notes & Tips
- 1 If the batter seems too thick, add a splash more milk; it should coat but not clump.
- 2 Drying the Oreos helps prevent soggy batter.
- 3 For extra flavor, stir a pinch of cinnamon into the batter before frying.
Tools You'll Need
-
Deep pot or Dutch oven
-
Thermometer
-
Slotted spoon or spider skimmer
-
Mixing bowl
-
Whisk
-
Cooling rack with paper towels
Must-Know Tips
- Don’t overcrowd the pot, cook in small batches for even crispness.
- Keep oil temperature steady, adjust heat as needed.
- Dust immediately after frying while still hot for best sugar adhesion.
Professional Secrets
- Cold batter meets hot oil, creating a vapor barrier that yields a light crust.
- A brief flash fry locks in moisture, preventing soggy interiors.
- Using a wire rack lets excess oil drip away, preserving crunch.

Recipe by
EmilyEmily is a passionate food blogger and seasoned recipe creator at Arbmom Recipe, where she brings her culinary expertise and creativity to home cooks ...
Get Delicious Recipes Weekly
Join 25,000+ home cooks getting our best recipes straight to their inbox.
Free forever • No spam • Unsubscribe anytime