Why You'll Love It
- - Soft, pillowy texture that holds fillings nicely
- - Simple ingredients you probably already have
- - Golden crust with a subtle buttery flavor
- - Versatile for breakfast, lunch, or dinner
These buns are heaven, fluffy and golden—just perfect for any meal!
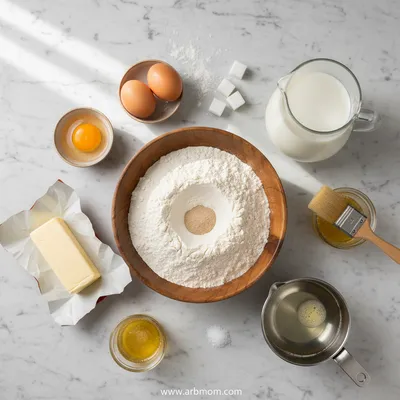
Essential Ingredient Guide
- Bread flour: Provides the gluten structure for a light, airy crumb; sift before measuring.
- Active dry yeast: Ensures the dough rises; proof in warm water with a pinch of sugar.
- Milk: Adds richness; you can substitute with soy milk for a dairy‑free version.
- Butter: Creates a tender crumb and a subtle sheen; melt before mixing.
- Sugar: Feeds the yeast and balances the flavor just a touch.
- Egg: Adds color and helps bind the dough; room temperature works best.
Complete Cooking Process
-
Ingredient Readiness:
Measure and warm the milk, melt butter, and proof the yeast until foamy.
-
Flavor Development:
Mix flour, sugar, and salt, then combine with wet ingredients; knead until smooth.
-
Texture Control:
Let the dough rise until doubled, punch down, shape buns, and give a second rise.
-
Finishing Touches:
Brush tops with egg wash, sprinkle sesame seeds if desired, and bake until golden.
-
Serving Timing:
Cool briefly, then slice warm for the softest bite.
- Use a kitchen scale for accurate flour measurement.
- Cover dough with a damp towel to prevent drying.
- Steam the oven with a pan of water for an extra glossy crust.
- Freeze extra buns and toast them straight from the freezer.
Pro Tips
When you pull the buns from the oven, the scent of butter and yeast fills the kitchen, and you’ll notice a subtle crackle as the crust sets. Let them rest for a few minutes; this allows the interior to stay tender while the exterior stays nicely crisp. So, yeah, a little patience makes all the difference.
The essence of the dish:
A fun fact or historical angle:
Flavor or sensory focus:
You Must Know
- Don’t over‑mix; it can make the buns tough.
- Allow full rise for a light texture.
- Brush with egg for a glossy finish.
Frequently Asked Questions
→ Can I make the buns gluten‑free?
Yes, substitute bread flour with a gluten‑free all‑purpose blend and add a tablespoon of xanthan gum.
→ How do I store leftover buns?
Cool completely, then place in an airtight container; they stay soft for up to three days.
→ Can I freeze the dough?
Shape the buns, freeze on a tray, then transfer to a zip‑top bag; bake from frozen, adding a few extra minutes.
→ What if I don’t have a stand mixer?
You can knead by hand for about 10 minutes until smooth and elastic.
→ Do I need to add sesame seeds?
Optional—sprinkle on top for extra texture and visual appeal.
→ Can I use honey instead of sugar?
Yes, replace sugar with an equal amount of honey; reduce the milk slightly to balance moisture.
Chef's Tips
For extra shine, brush buns with melted butter right after baking.,If you prefer a sweeter bun, add an extra tablespoon of honey to the dough.,You can incorporate glazed donuts inspiration by adding a light sugar glaze after baking.
Nutrition Facts
per serving
210
Calories
6g
Protein
32g
Carbs
6g
Fat
Taste Profile
Warm, buttery, lightly sweet
Ingredient Substitutions
Don't have an ingredient? Try these alternatives
Use the same amount; reduces saturated fat.
Works well; may need a touch more flour if too wet.
Recipe Variations
Try these delicious twists on the original
Herb‑Infused Buns
Add 1 tbsp chopped rosemary or thyme to the dough for an aromatic twist.
Whole Wheat Version
Replace half of the bread flour with whole wheat flour for added nutty flavor.
Common Mistakes to Avoid
Learn from others' mistakes for perfect results
- Letting the dough rise in a drafty area; it can rise unevenly.
- Over‑kneading, which makes the buns tough.
- Skipping the egg wash; buns look pale.
Meal Prep & Storage
Make Ahead Tips
You can shape the buns and refrigerate them uncovered for up to 12 hours; bake them directly from the fridge, adding a few extra minutes.
Leftover Ideas
Reheat gently in a skillet over low heat, covered, to restore softness.
Perfect Pairings
Serve this with...
Cooking Timeline
Gather and measure all ingredients.
Proof yeast and mix wet ingredients.
Combine dry ingredients, knead dough.
First rise in a warm spot.
Shape buns, second rise, bake.
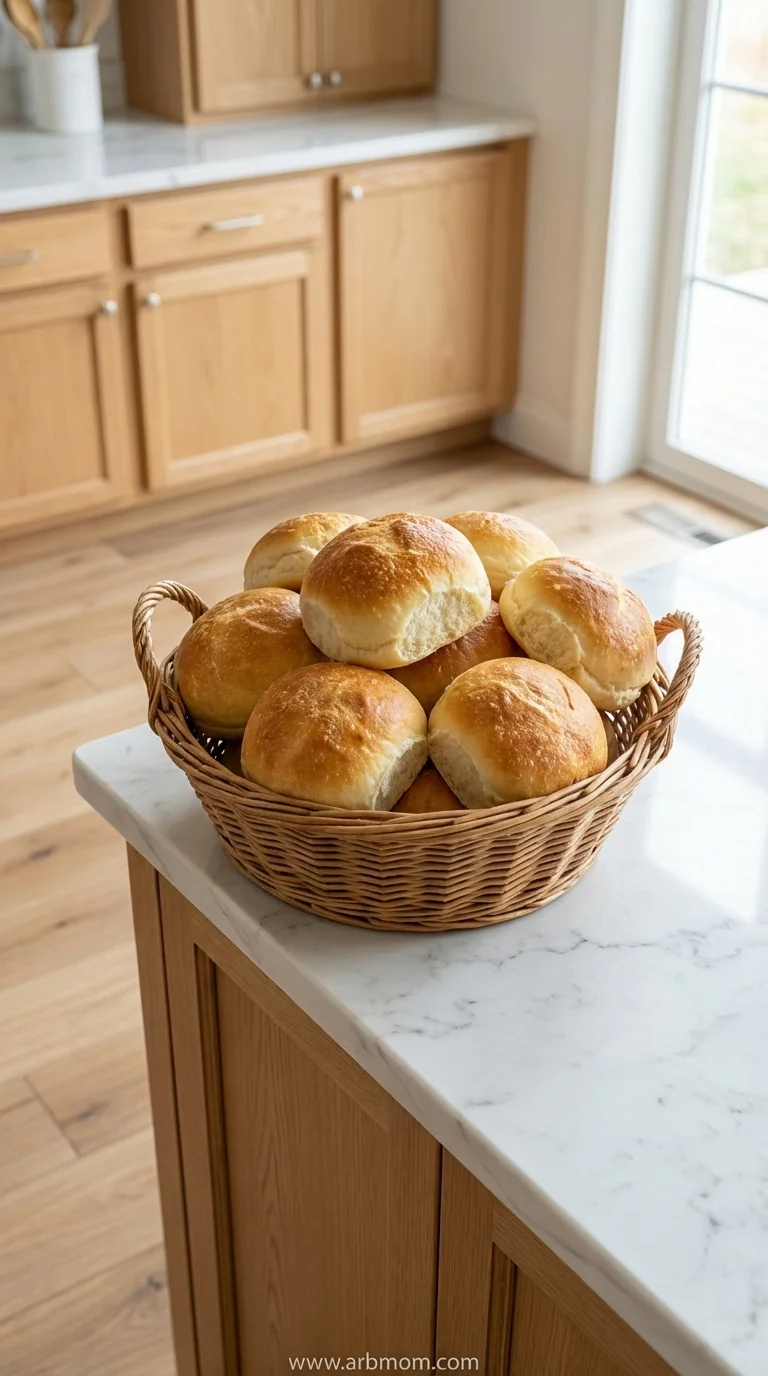
Best Sandwich Buns Recipe
These sandwich buns are fluffy, golden, and perfect for any filling—whether you’re making a classic breakfast sandwich or a simple snack. Honestly, they come together quickly and fill the kitchen with a warm, yeasty scent.
Timing
Prep Time
15 Minutes
Cook Time
30 Minutes
Total Time
45 Minutes
Recipe Details
Ingredients
Dough
- 01 3 1/2 cups bread flour
- 02 1 cup warm milk
- 03 2 tbsp melted butter
- 04 2 tsp active dry yeast
- 05 2 tbsp sugar
- 06 1 tsp salt
- 07 1 large egg, room temperature
- 08 1 tbsp olive oil (for greasing)
Optional Topping
- 01 1 egg, lightly beaten (egg wash)
- 02 Sesame seeds or poppy seeds
Instructions
In a small bowl, combine warm milk, melted butter, and sugar; sprinkle yeast on top and let sit 5‑7 minutes until foamy.
In a large mixing bowl, whisk together flour and salt; make a well, then add the yeast mixture and egg.
Knead the dough on a lightly floured surface for about 8‑10 minutes until smooth and elastic.
Place dough in a greased bowl, cover with a damp towel, and let rise in a warm spot until doubled, about 1 hour.
Punch down the dough, divide into 8 equal pieces, shape into smooth balls, and place on a parchment‑lined baking sheet.
Cover the shaped buns and let rise a second time for 30 minutes; preheat oven to 375°F (190°C) meanwhile.
Brush each bun with egg wash, sprinkle seeds if desired, and bake 15‑18 minutes until golden brown.
Cool on a wire rack for a few minutes; serve warm or store as described.
Notes & Tips
- 1 For extra shine, brush buns with melted butter right after baking.
- 2 If you prefer a sweeter bun, add an extra tablespoon of honey to the dough.
- 3 You can incorporate glazed donuts inspiration by adding a light sugar glaze after baking.
Tools You'll Need
-
Large mixing bowl
-
Measuring cups and spoons
-
Kitchen scale
-
Whisk
-
Baking sheet
-
Parchment paper
-
Wire rack
Must-Know Tips
- Don’t over‑proof; the dough may collapse.
- Use room‑temperature egg for better rise.
- Score the tops lightly if you like a rustic look.
Professional Secrets
- Let the dough rest after kneading; it relaxes gluten for a softer crumb.
- Steam the oven early in the bake for a glossy crust.
- Brush with butter after baking for added flavor.

Recipe by
GraceGrace is a passionate food blogger and recipe developer at Arbmom Recipe, where she brings a fresh and flavorful approach to home cooking. With years ...
Get Delicious Recipes Weekly
Join 25,000+ home cooks getting our best recipes straight to their inbox.
Free forever • No spam • Unsubscribe anytime